
Hey there!
Who's ready for a little craft? I promise it's fun and it will definitely wow your friends! I'm sure many of you have seen various tutorials surface on Pinterest on how to make drink coasters using bathroom tiles, your favorite photographs, and resin. How's this tute different? I've used it all - photos, paper, etc. I know what works and doesn't and the best method for each!

I actually made these for the first time about a year or more ago, and the thought of using resin scared me. I had the shakes and muscle twitches at just the mere thought of using it.
Why?
I.Have.No.Idea.
I'm usually the first to jump on board with new materials and tools, but this resin stuff was throwing me for a loop. I think it was because I had never used it before, you have to work quickly (I like to take my time with arts/crafts), I thought I might screw up my project and have to scrap it . . the list goes on.
Why on earth would I tell you this is fun and then tell you I had night sweats about the thought of using it? Because! I'm here to build you up! To add a new skill to your craft knowledge arsenal! To be your rah-rah resin cheerleader. For real though. You can do this. It's not bad. You'll be so proud of yourself when you're done. And what's the worst that could happen? Let's say you do mess up. You've only spent about 30 minutes of your time and just a couple bucks. More importantly, you'll have learned what not to do for next time.
Let's get started shall we? This is gonna be a little mix of Instagram/big-girl camera pictures.
If you're using photos, you will not need Mod Podge. If you are using something paper-based like scrapbook paper, old love notes, or in my case, maps - you will need Mod Podge. What kind? O that's a good question. Out of all the craft goods that I own, Mod Podge is not one of them. Just never been a Mod Podge girl. Sue me.
My roommate used to use Mod Podge like a feen. On every surface. Everywhere. Everyday. She said she loved it. I thought ok, let me head out to give this a try. I walked up in Michael's and found this:
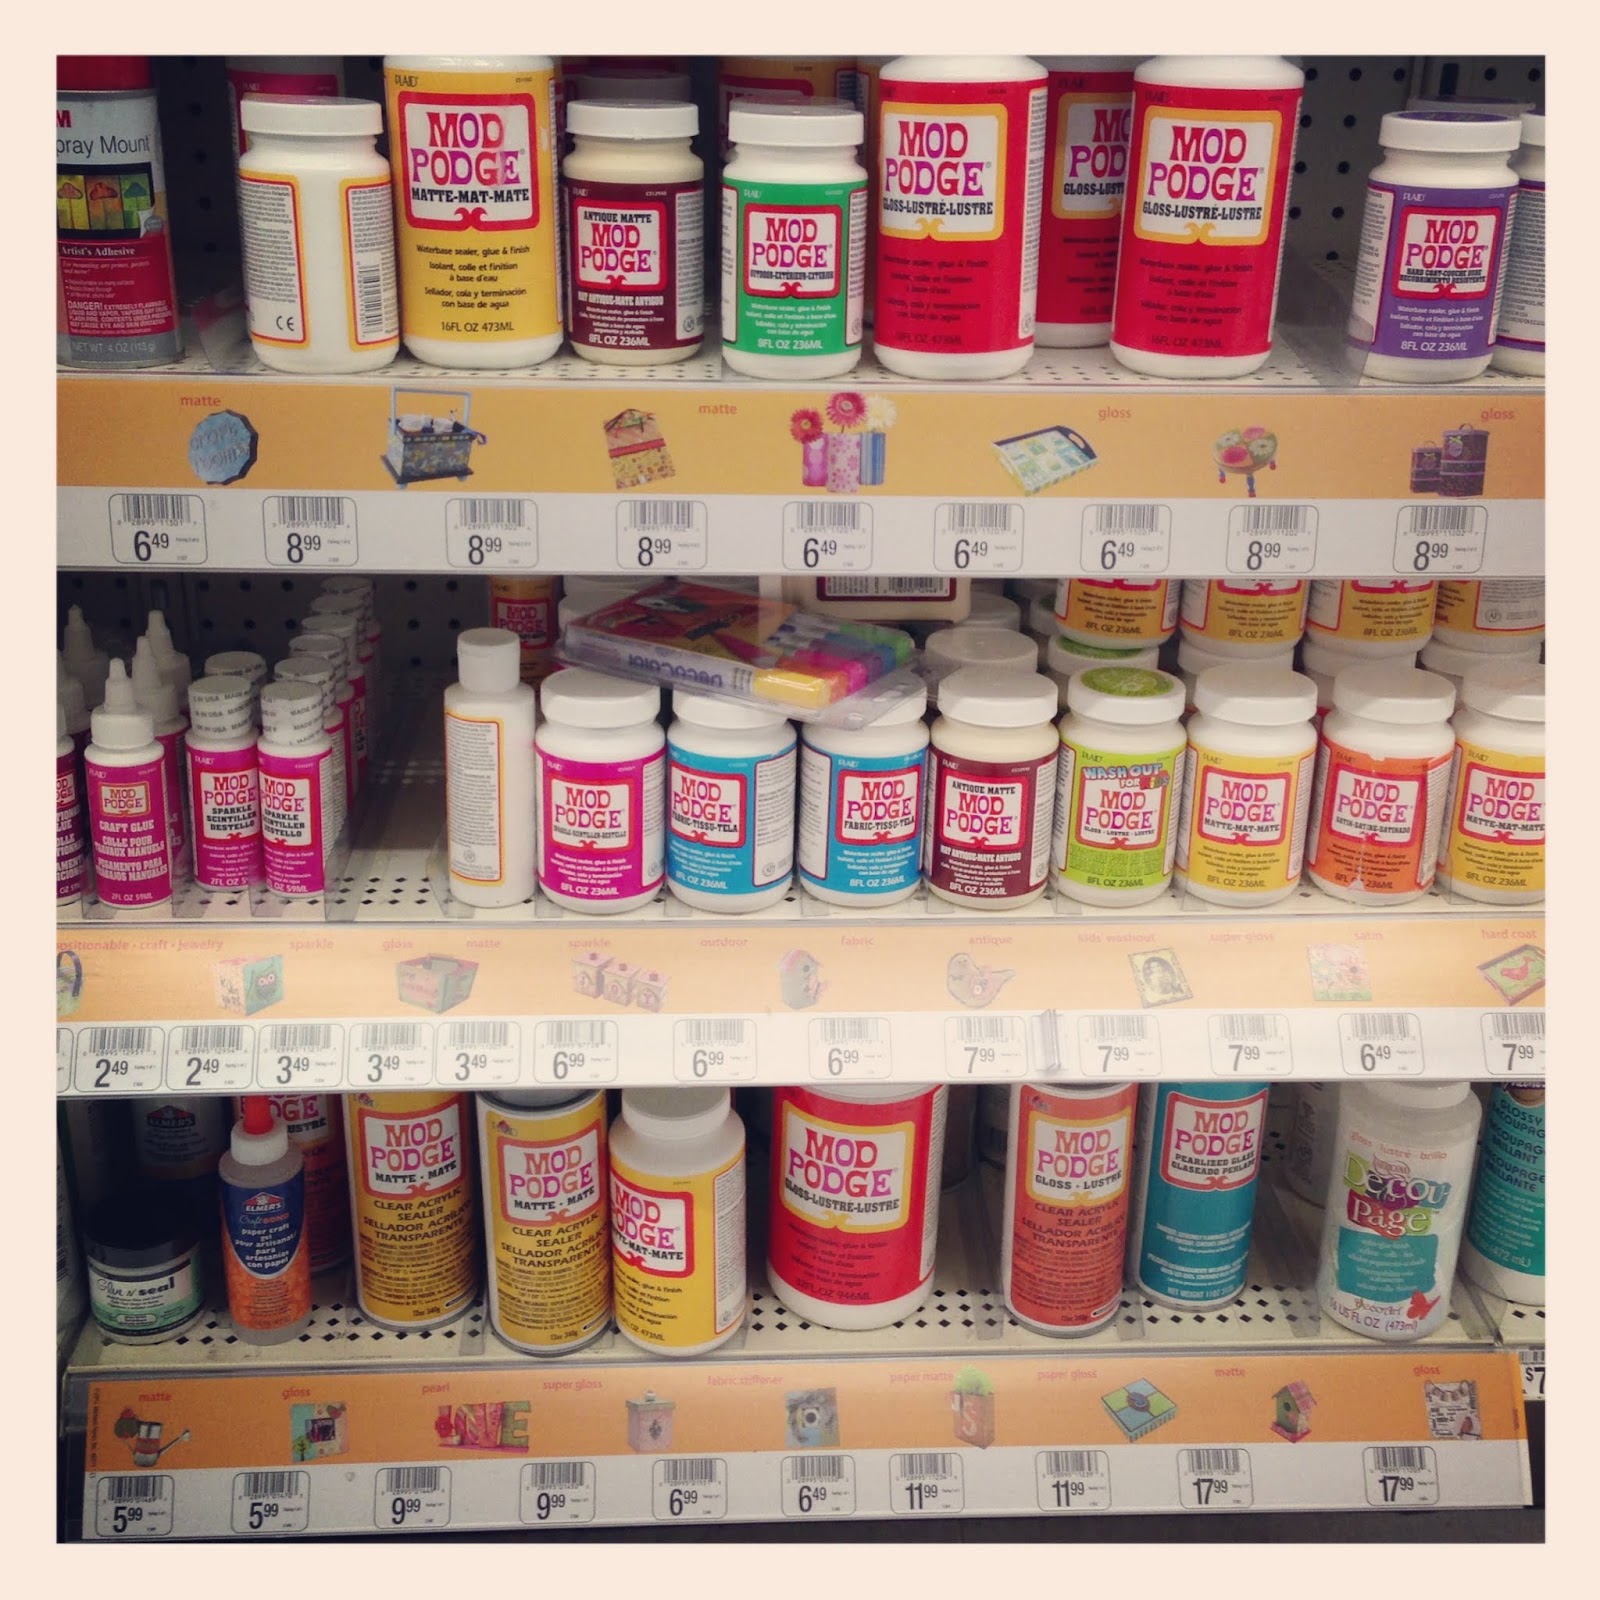
Why? Why are there so many kinds? This is where I started sweating again. Just imagine my eyes growing larger and larger as I picked up every single bottle of Mod Podge asking whyyyyyyyy each and every time. My choice? I went with the yellow one that's a matte finish (truthfully, I don't think it matters because you won't see it or your brush strokes after you pour your resin on top - the resin just needs something to grip if you're using a paper-based product on your tile). So what else will you need? Follow the steps below!
DIY Map Inspired Resin Drink Coasters
What You'll Need
- 4 - 4x4 square bathroom tiles (the color is up to you - white/tan looks best since the sides will be white no matter what)
- Pictures, scrapbook paper, maps, etc.
- Glue stick
- Mod Podge
- Foam Brush
- Old credit/library card - (for smoothing things out)
- Resin - (I used the Enviro Tex Lite Resin) - For all you Richmonders, Pleasant's Hardware sells the small box and the large containers of this for a fair price (try not to buy anything else while you're in there - I dare ya). I have since seen the small box at Michael's and you could use a 40% off coupon. I purchased the small box, have over half of it left, and I've done four sets of these to date.
- Large popsicle sticks
- Cork Contact Paper or Rubber/Cloth Feet for Frames
- Blowtorch or straw
- Hairdryer
- Four items to elevate your tiles
How To Make Em (see images at the bottom)
- Gather all of your supplies.
- Cut your images (whichever you're using - scrapbook paper, pictures, maps) just smaller than the tile, leaving a small border around the edge of the tile.
- Next, roll out your cork contact paper. Use the image squares you just cut as a template and cut four squares out of cork. These will be applied to the back of your coasters to help protect your tables.
- After you cut your cork, apply your images to top of your tiles using a glue-stick, making sure you cover the maps well before applying to tiles (especially the edges). Smooth out with a credit card or something of the like. If you are using pictures - glossy/matte finish, it doesn't matter - skip the next step involving Mod Podge. You only need Mod Podge if you're using something paper-based.
- Crack open your Mod Podge and apply a thin coat with your foam brush all over the tiles. Once you have one coat on, apply another generous coat. At this point, air bubbles may be forming under your images. Using the brush/your old credit card, gently smooth out the edges/bubbles. This may take a few tries, just be patient, diligent, and gentle - you don't want to rip your image. Allow to cure - I waited 24 hours because I wanted a nice, hard, moisture-free surface. If you see brush strokes, it's ok - you won't see them once the resin is poured and set.
- Line a small table with parchment paper.
- Use four items to elevate your tiles. (I used some larger, round honey mustard dressing packets.) Keep in mind that it should be something smaller than the tile, not too tall, and stable enough so that the tiles don't tip over when you're pouring your resin. You can pretty much bet that if resin gets on the your table/items used to elevate your tiles, these things will be ruined because it's never coming off. This is why parchment paper is your friend because you can just roll it up and trash it when you're done.
- Next, mix up your resin according to the directions on your box. Tip - it's better to over mix than to under mix, so . . . Stir It Up Little Darling. You could even listen to that as motivation while you stir :) This should be done in a well-ventilated and temperature controlled area.
- Once you've mixed your resin, you're ready to pour!
- Pour a small stream of resin in a ribbon-like manner over tile #1. Use your popsicle stick to smooth it all out. Pour more resin if needed and smooth out. Less is more and the resin expands, so start low and slow with how much you pour. Once you're comfortable with your first tile, proceed to the 2nd, 3rd, and 4th tiles.
- After the tops are completed, you may see some drippage on the sides and bottoms. Using a new popsicle stick, smooth the dripping resin over the sides for a nice finish and smooth out any drips along the bottom edge.
- Within the first 15 minutes of pouring your resin, some tiny air bubbles will pop up on top of your tiles (usually around the edges of your images). Using a blow torch on the low setting, move across the tiles about 6-10 inches from the top of them - this will get rid of the air bubbles and set your resin. If you don't have a blow torch, using a straw to blow out the bubbles will also work. Having done both techniques, the blow torch is far easier.
- Continue to watch your tiles for about 15 more minutes to make sure no more air bubbles appear.
- Set your table aside, away from air vents/areas that are prone to dust, and allow the resin to sit for ~72 hours. Why so long? This will ensure a completely cured resin!
- Once cured, grab your cork squares, hairdryer, and cured tiles. Flip your tiles over and turn your hair dryer on the lowest warm setting. Apply heat to the back of the cork contact paper for ~1 minute. Turn your dryer off, peel of the backing slowly so that you don't split your cork, and apply to the back of your tile. Repeat for the other tiles.
- Wow your friends and enjoy!
Here's a couple pictures from the process!
Here are the tiles are after a couple coats of Mod Podge, edges smoothed out, and tiles drying. You can see some brush strokes but like I said, it won't matter.

You can see that awesome, glass-like finish in the next few photos.


Here they are all packaged up and ready to gift!

I hope you'll give resin a try - it really is a lot of fun!
-Sue
These look awesome! Do you think round coasters will work as well? Thanks for sharing.
ReplyDeleteKayli,
DeleteI apologize for just now seeing this! I'm sure round coasters would work as well if they were a hard surface like tile!
Hope this helps!